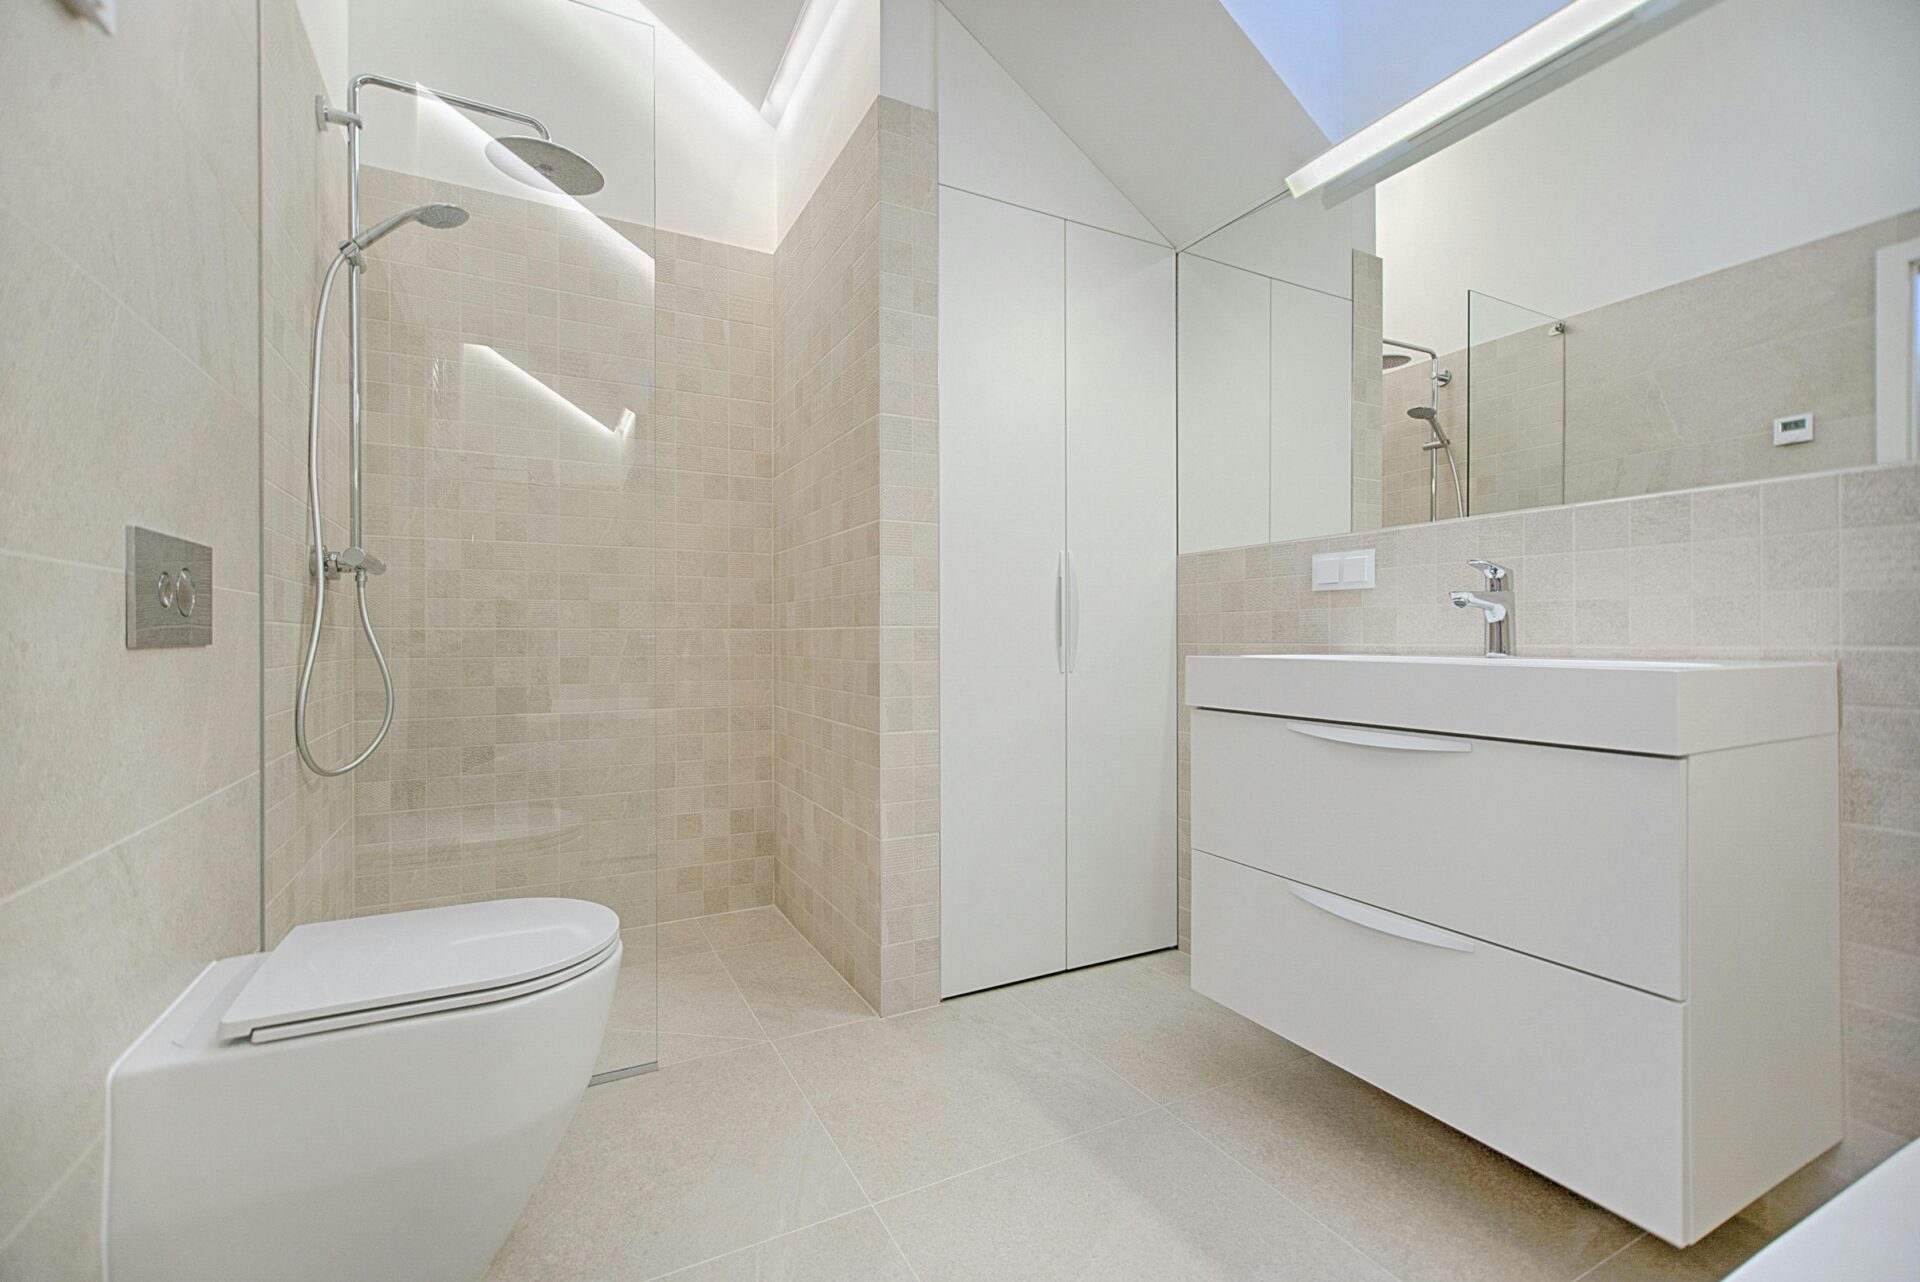
The bathroom is one of the most frequently used spaces in any home, and keeping it clean is crucial for maintaining both hygiene and aesthetics. Among the many tasks involved in bathroom maintenance, cleaning the floor is perhaps one of the most important. The bathroom floor is exposed to water, soap, hair, and various other substances daily, making it a breeding ground for bacteria and grime if not cleaned regularly.
Knowing how to clean bathroom floor surfaces effectively can transform your bathroom from a functional space into a sparkling sanctuary. Whether your bathroom floor is made of tile, vinyl, stone, or laminate, this guide will walk you through the best methods to keep it clean, safe, and looking great. We’ll cover everything from daily maintenance tips to deep cleaning techniques, ensuring you have all the knowledge you need to maintain a spotless bathroom floor.
Step-by-Step Instructions
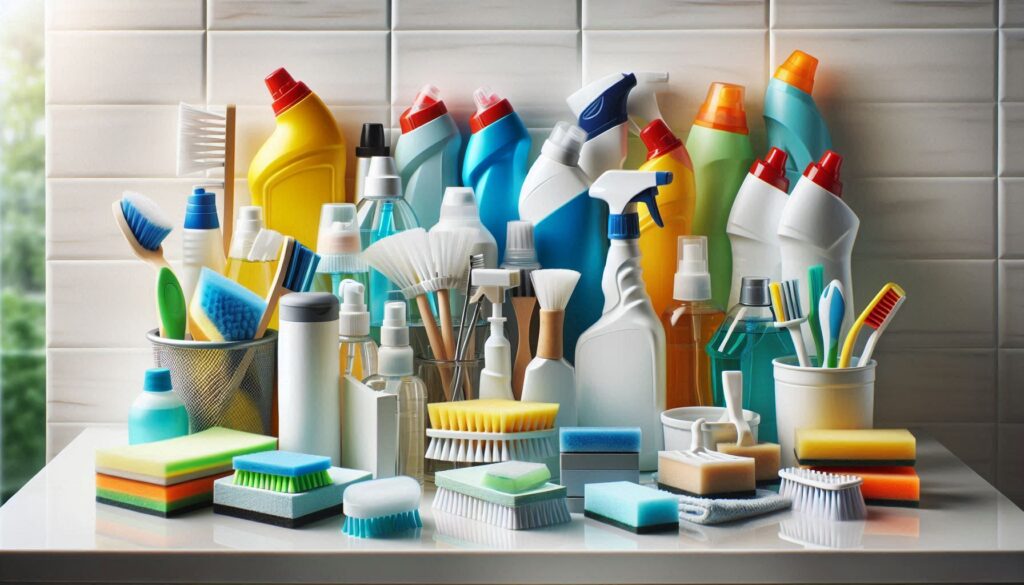
Step 1: Gather Your Cleaning Supplies
Before diving into the cleaning process, it’s essential to have all your supplies ready. This preparation will save you time and make the cleaning process smoother.
Essential Supplies:
- Broom or Vacuum Cleaner: For removing loose dirt, dust, and hair.
- Microfiber Mop or Sponge Mop: Ideal for wet cleaning without leaving streaks.
- Bucket: For mixing cleaning solutions.
- pH-Neutral Floor Cleaner: Suitable for most bathroom floor types, especially tile and vinyl.
- White Vinegar: A natural cleaning agent, perfect for eliminating odors and mild stains.
- Baking Soda: Great for removing stubborn stains and adding some abrasion without causing surface scratches.
- Soft Bristle Brush or Toothbrush: Useful for scrubbing grout lines and hard-to-reach areas.
- Clean Towels or Rags: For drying the floor after cleaning.
Having the right tools at your disposal is the first step toward achieving a thoroughly clean bathroom floor.
Step 2: Clear the Area
Before you begin cleaning, remove all items from the bathroom floor. This includes rugs, trash bins, and any other items that could get in the way of a thorough cleaning.
How to Do It:
- Remove All Loose Items: Take out bath mats, rugs, trash bins, and any other items that might be on the floor.
- Check Corners and Behind the Toilet: These areas often collect dust and hair, so ensure they’re clear before you start.
Why It’s Important:
Clearing the area ensures you have full access to the entire floor, making it easier to clean every inch. It also prevents you from accidentally getting any items wet or damaged during the cleaning process.
Must Read : How To Clean LVP Flooring: The Ultimate Guide
Step 3: Sweep or Vacuum the Floor
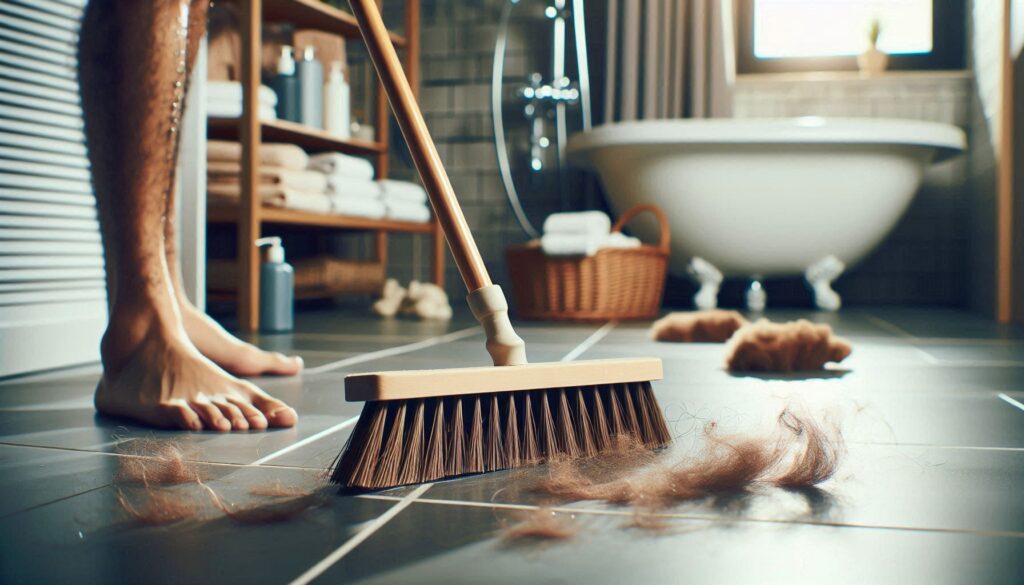
Once the floor is clear, the next step is to remove any loose dirt, dust, and hair. This is crucial to prevent scratching the floor during the wet cleaning process.
How to Do It:
- Use a Broom or Vacuum Cleaner: Start by sweeping or vacuuming the floor thoroughly. Pay special attention to corners, behind the toilet, and along the baseboards, where dust and hair tend to accumulate.
- Check for Loose Debris: Ensure all visible debris is removed. This step prevents dirt from becoming mud when you start mopping.
Tips:
- For Tile and Vinyl Floors: A vacuum cleaner with a hard floor setting is ideal.
- For Stone or Laminate Floors: Stick to a broom to avoid potential damage from vacuum wheels or brushes.
Why It’s Important:
Sweeping or vacuuming removes loose particles that could scratch the floor during mopping. It also ensures that you’re not simply spreading dirt around when you move on to the next cleaning steps.
Step 4: Prepare the Cleaning Solution
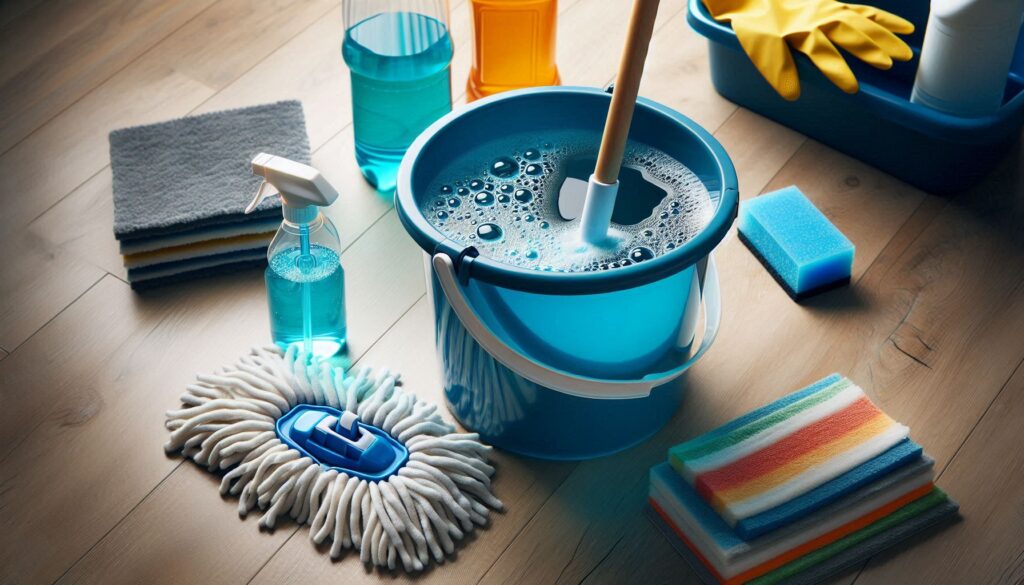
The type of cleaning solution you use depends on the material of your bathroom floor. Here’s how to prepare a solution that’s safe and effective for most floor types.
For Tile and Vinyl Floors:
- Mix a Mild Cleaning Solution: Combine warm water with a few drops of pH-neutral floor cleaner in a bucket. Avoid harsh chemicals, as they can damage the finish on tiles and vinyl.
- Alternative Solution: If you prefer a natural cleaner, mix one part white vinegar with three parts water. This solution is excellent for cutting through grime and disinfecting the floor.
For Stone Floors:
- Specialized Stone Cleaner: Use a cleaner specifically designed for stone floors. Mix according to the manufacturer’s instructions. Avoid vinegar and acidic cleaners, as they can etch stone surfaces.
For Laminate Floors:
- Diluted Laminate Cleaner: Laminate floors require minimal water, so mix a small amount of laminate floor cleaner with water in a spray bottle. Alternatively, a very diluted mixture of water and mild dish soap can be used.
Step 5: Mop the Floor
Now that your floor is free of debris and your cleaning solution is ready, it’s time to start mopping. The method varies slightly depending on the type of floor you’re cleaning.
How to Do It:
- Dip and Wring: Dip your microfiber or sponge mop into the cleaning solution, then wring it out thoroughly. You want the mop damp, not soaking wet, to avoid leaving too much water on the floor.
- Start from the Back: Begin mopping from the farthest corner of the bathroom and work your way toward the door. This ensures you don’t walk over the freshly cleaned areas.
- Use Gentle Strokes: Mop in gentle, overlapping strokes, covering small sections at a time. For stubborn spots, apply a bit more pressure or go over the area with the mop a second time.
Tips:
- For Grout Lines: If you’re cleaning a tile floor, consider using a soft bristle brush to scrub grout lines after mopping. This extra step helps remove dirt and stains that a mop might miss.
- For Laminate Floors: Use minimal water to prevent the laminate from swelling. If needed, dry each section with a clean towel immediately after mopping.
Why It’s Important:
Mopping removes the remaining dirt and grime, leaving the floor clean and shiny. Using the correct method for your specific floor type ensures that you clean effectively without causing damage.
Must Read : How To Clean Bamboo Floors: A Comprehensive Guide
Step 6: Rinse and Dry the Floor
Rinsing is a crucial step to remove any remaining cleaner from the floor, which can leave a residue if left to dry. Drying the floor ensures that no water spots or streaks remain.
How to Do It:
- Rinse the Mop: After mopping, rinse your mop thoroughly in clean water. Wring it out well.
- Mop Again with Clean Water: Go over the floor again, this time using just clean water. This step helps to remove any remaining cleaning solution.
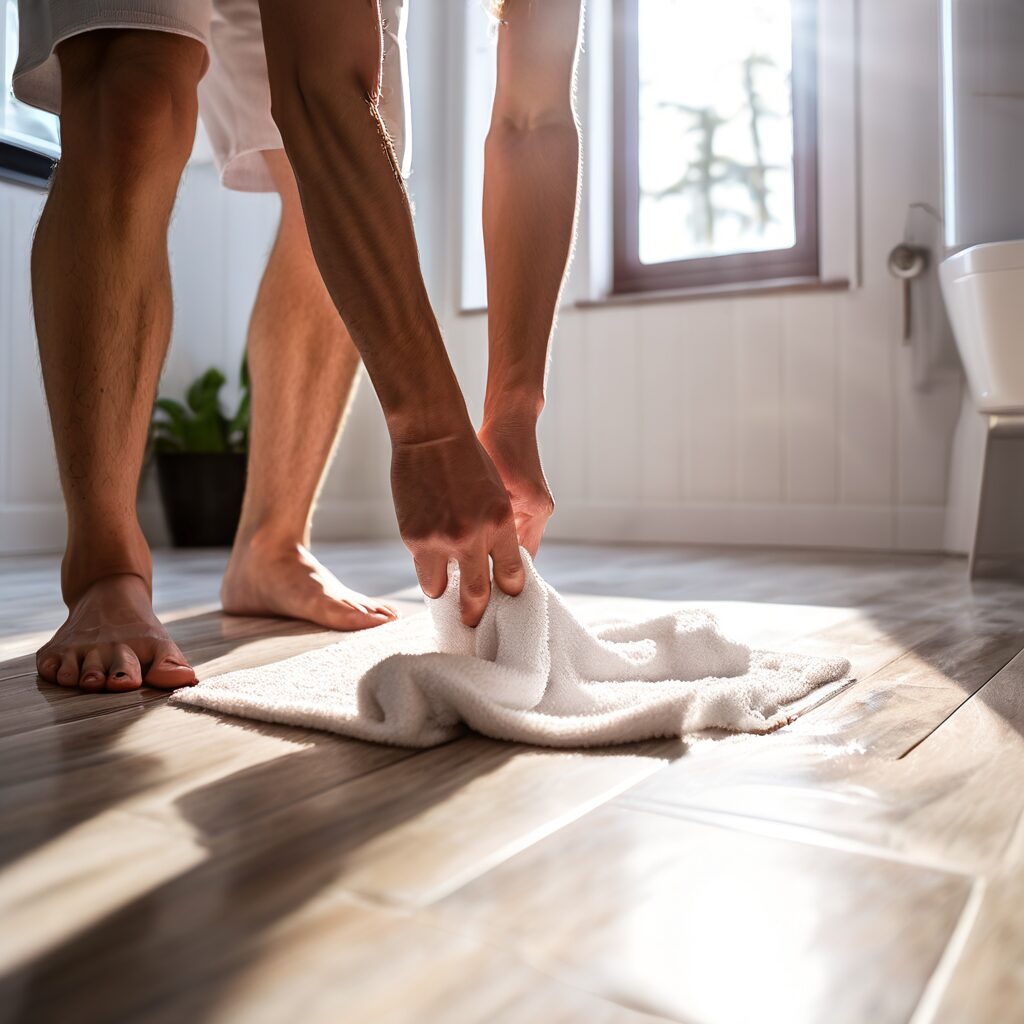
- Dry the Floor: Finally, use a clean towel or microfiber cloth to dry the floor completely. Start in the same corner you began mopping and work your way toward the door.
Tips:
- For Faster Drying: If you’re in a hurry, use a fan to speed up the drying process.
- Check for Streaks: As you dry, check for any streaks or spots and buff them out with the towel.
Why It’s Important:
Rinsing and drying the floor prevent streaks and residue, leaving the bathroom floor looking clean and polished. It also reduces the risk of slipping on a wet floor.
Step 7: Replace Items and Final Touches
Now that your bathroom floor is sparkling clean, it’s time to replace all the items you removed earlier and add any final touches.
How to Do It:
- Replace Rugs and Mats: Ensure that rugs and bath mats are clean before placing them back on the floor. If they need washing, do so before returning them.
- Wipe Down Baseboards and Corners: Use a damp cloth to wipe down baseboards and corners where dust might have settled during the cleaning process.
- Add a Fresh Scent: Consider using a floor-safe air freshener or a few drops of essential oil in a corner of the bathroom to leave a fresh, pleasant scent.
Why It’s Important:
Finishing touches like clean rugs and a fresh scent enhance the overall cleanliness of the bathroom and make the space more inviting.
Troubleshooting and Tips
Even with careful cleaning, you might encounter some challenges along the way. Here are some common problems and how to solve them.
1. Dealing with Stubborn Stains
- Problem: Some stains might not come off with regular mopping.
- Solution: Sprinkle baking soda over the stain, then scrub with a soft bristle brush and a bit of the cleaning solution. Rinse and dry the area afterward.
2. Preventing Mold and Mildew
- Problem: Bathrooms are prone to mold and mildew, especially in grout lines.
- Solution: After cleaning, use a solution of one part hydrogen peroxide to two parts water to spray the grout lines. Let it sit for a few minutes, then rinse and dry thoroughly.
3. Avoiding Streaks on Tile Floors
- Problem: Streaks can sometimes appear after the floor dries.
- Solution: Ensure you’re using a clean, well-wrung mop and rinsing thoroughly. If streaks persist, consider using distilled water for the final rinse, as it doesn’t leave mineral deposits.
4. Tackling Soap Scum Buildup
- Problem: Soap scum can build up over time, particularly on tile floors.
- Solution: Use a mixture of equal parts white vinegar and water to spray the affected area. Let it sit for a few minutes, then scrub gently with a sponge before rinsing and drying.
Conclusion
Cleaning your bathroom floor might seem like a chore, but with the right approach, it can be a simple and even satisfying task. By following this step-by-step guide, you’ll ensure that your bathroom floor is not only clean but also well-maintained, prolonging its life and keeping your bathroom looking its best.
So why wait? Grab your cleaning supplies and start transforming your bathroom floor into a sparkling, spotless surface. And once you’ve finished, don’t forget to share your results with us or explore more of our cleaning tips to keep your home in top shape!
FAQs About How to Clean Bathroom Floor
1. How often should I clean my bathroom floor?
It’s best to sweep or vacuum the bathroom floor daily to remove loose dirt and hair. A more thorough cleaning, including mopping, should be done at least once a week.
2. Can I use bleach to clean my bathroom floor?
Bleach can be used on tile floors for disinfecting, but it should be diluted properly and used sparingly. It’s not recommended for stone or laminate floors as it can cause damage.
3. What’s the best way to clean grout lines?
For grout lines, use a soft bristle brush and a mixture of baking soda and water. For stubborn stains, a solution of hydrogen peroxide and water can be effective.
4. How do I prevent water spots on my bathroom floor?
After mopping, ensure the floor is thoroughly dried with a clean towel. Using distilled water for the final rinse can also help prevent water spots.
5. Is it safe to use a steam mop on bathroom floors?
Steam mops can be used on tile and vinyl floors, but they’re not recommended for stone or laminate floors as the heat and moisture can cause damage.
6. How to clean bathroom floor tiles?
To clean bathroom floor tiles without scrubbing:
1. Mix equal parts white vinegar and water in a spray bottle. Spray the solution onto the tiles and let it sit for 5-10 minutes.
2. Sprinkle baking soda over the tiles, then spray the vinegar solution over it. The baking soda and vinegar will react, helping to lift grime. Let it sit for 15 minutes before wiping clean.
3. Use an all-purpose, non-toxic bathroom cleaner. Spray it on, let it sit, then wipe away. This will effectively remove dirt and limescale without harsh scrubbing.
4. For tough stains, make a paste with baking soda and water, apply it, let it sit, then wipe clean. Avoid using abrasive cleaners which can damage the tiles.

