Engineered flooring has become a popular choice for homeowners due to its durability, aesthetic appeal, and versatility. Unlike solid hardwood, engineered flooring is composed of multiple layers, with a top layer of real wood veneer, making it more resistant to moisture and temperature changes. To maintain its best appearance, it needs to be properly cared for and maintained, just like any other flooring.
Knowing how to clean engineered flooring effectively can extend its life and maintain its beautiful appearance for years to come. This guide will walk you through everything you need to know about cleaning and maintaining your engineered flooring, from daily care routines to deep cleaning methods. By following these steps, you can ensure that your floors remain in pristine condition, enhancing the beauty of your home.
Step-by-Step Instructions
Step 1: Gather Your Cleaning Supplies
Before you start cleaning, it’s essential to have all the necessary supplies on hand. The right tools and products will not only make the job easier but also protect your flooring from damage.
Essential Supplies:
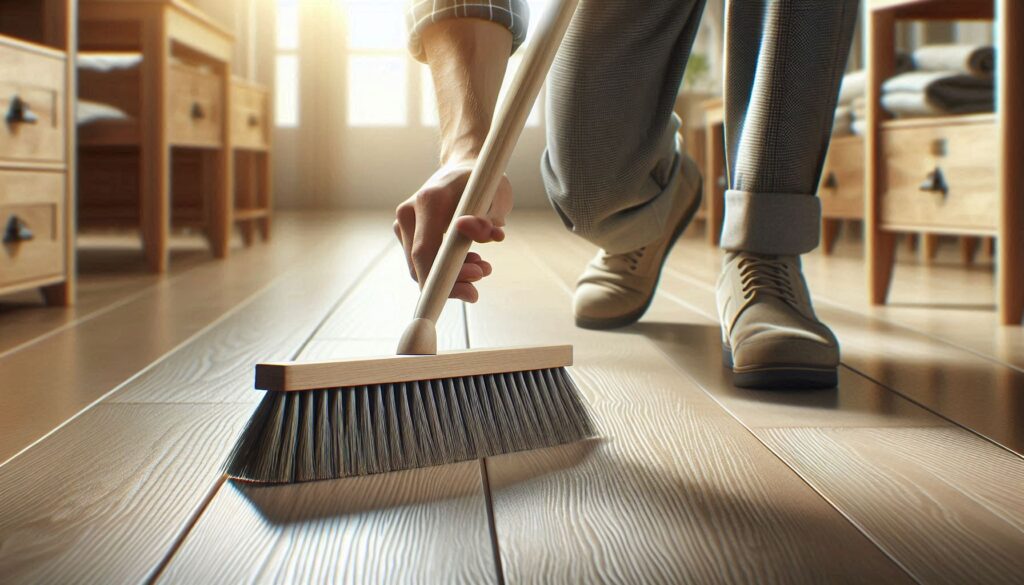
- Soft-Bristle Broom or Vacuum Cleaner with a Hardwood Setting: To remove dust, dirt, and debris without scratching the surface.
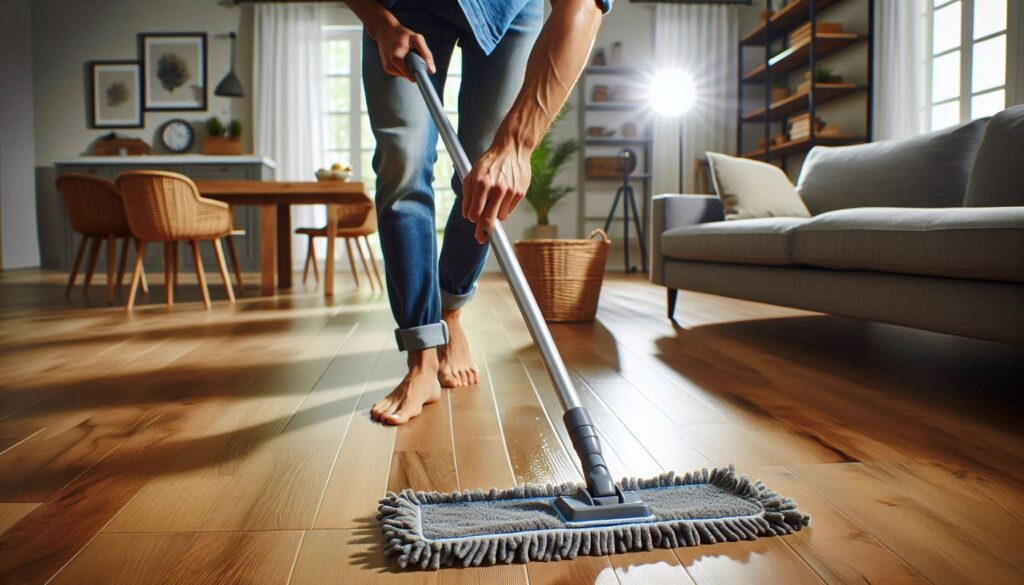
- Microfiber Mop: Ideal for gentle cleaning without leaving streaks.
- pH-Neutral Floor Cleaner: Specifically formulated for hardwood or engineered wood flooring to avoid stripping the finish.
- Warm Water: Used for diluting cleaners and rinsing the floor.
- Clean, Soft Cloths or Microfiber Towels: For spot cleaning and drying the floor.
- Soft Bristle Brush: For cleaning in between planks and dealing with stubborn dirt in crevices.
Having these supplies at the ready ensures a smooth and efficient cleaning process, protecting your engineered flooring while keeping it spotless.
Step 2: Clear the Floor Area
The first step in cleaning your engineered flooring is to clear the area of any furniture, rugs, or other items. This ensures that you can access every part of the floor and clean it thoroughly.
How to Do It:
- Remove Loose Items: Take out any small items like rugs, plants, or chairs. Move larger furniture carefully to avoid scratching the floor. Consider using furniture sliders to make this easier.
- Check for Dust: Once the area is clear, inspect the floor for any visible dust or debris that might have been trapped under furniture.
Why It’s Important:
Clearing the floor area allows you to clean every inch of the surface, preventing dust and dirt from accumulating in hidden spots. It also reduces the risk of scratching the floor while moving items around.
Step 3: Sweep or Vacuum the Floor
Dust and dirt particles can act like sandpaper, scratching the surface of your engineered flooring if not removed regularly. Sweeping or vacuuming is a crucial step in maintaining the floor’s finish.
How to Do It:
- Use a Soft-Bristle Broom: Gently sweep the floor to remove loose dirt, dust, and debris. Focus on corners, edges, and high-traffic areas where dirt tends to accumulate.
- Vacuum with Care: If you prefer using a vacuum, make sure it’s set to the hardwood floor setting. This setting disables the beater bar, which can scratch the wood surface.
Tips:
- For Edges and Corners: Use a vacuum attachment or a small brush to reach into corners and along baseboards.
- Regular Maintenance: Sweeping or vacuuming daily or at least several times a week prevents dust buildup and keeps your floor looking fresh.
Why It’s Important:
Regularly removing dust and dirt helps prevent scratches and keeps your engineered flooring looking clean and well-maintained.

Step 4: Prepare the Cleaning Solution
Next, you’ll need to prepare a cleaning solution suitable for engineered flooring. The key is to use a gentle cleaner that won’t damage the finish or seep into the layers of the floor.
For General Cleaning:
- pH-Neutral Cleaner: Mix a small amount of pH-neutral floor cleaner with warm water in a bucket. Follow the manufacturer’s instructions for the correct ratio.
- Natural Option: If you prefer a natural cleaner, mix one part white vinegar with ten parts water. This solution is gentle enough for engineered floors but effective at cutting through grime.
For Spot Cleaning:
- Diluted Cleaner: For spot cleaning, you can use the same pH-neutral cleaner in a more concentrated form, or use a dedicated hardwood spot cleaner.
- Avoid Harsh Chemicals: Never use bleach, ammonia, or abrasive cleaners on engineered wood as they can damage the finish.
Step 5: Mop the Floor
With your cleaning solution ready, it’s time to mop the floor. Mopping removes the finer particles of dirt and any grime that sweeping or vacuuming might have missed.
How to Do It:
- Dip and Wring: Dip your microfiber mop into the cleaning solution, then wring it out well. The mop should be damp, not wet, to avoid excess moisture on the floor.
- Mop in Sections: Start in one corner of the room and mop in small sections, working your way toward the exit. This prevents you from stepping on the wet floor.
- Use a Gentle Touch: Mop in straight lines or figure-eight patterns, applying light pressure. Avoid scrubbing too hard, especially on areas with a high sheen.
Tips:
- Minimal Water: Engineered flooring is more resistant to moisture than solid wood, but excess water can still seep into the seams and cause damage. Always ensure your mop is well-wrung.
- Dry as You Go: If your mop leaves too much moisture behind, go over the area with a dry microfiber towel to absorb the excess water.
Why It’s Important:
Proper mopping keeps your engineered floor clean without causing water damage or leaving streaks. It also enhances the natural beauty of the wood veneer.

Step 6: Dry and Buff the Floor
After mopping, it’s important to dry the floor thoroughly to prevent any water spots or streaks from forming. Buffing the floor afterward enhances its shine and smoothness.
How to Do It:
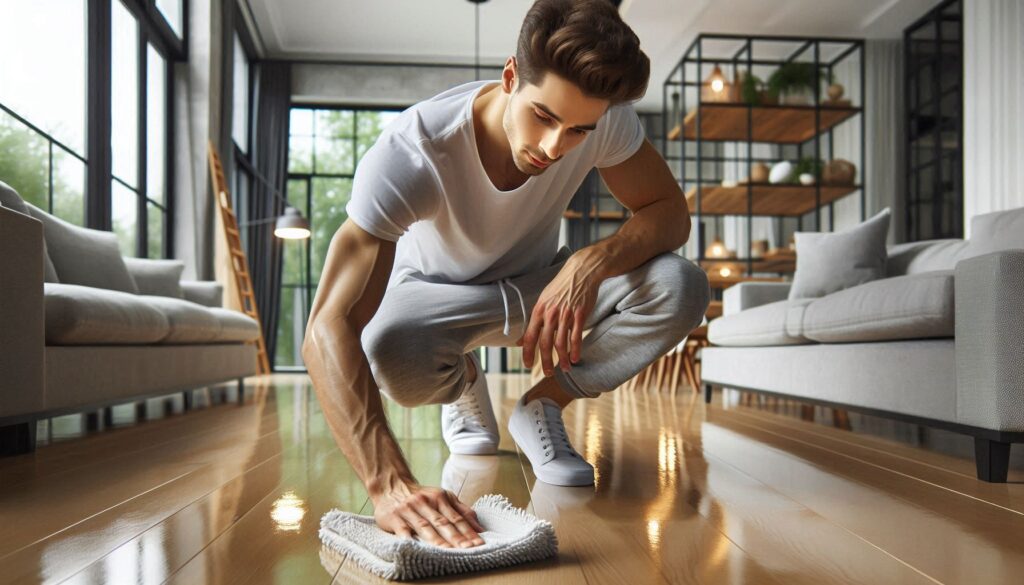
- Dry with Towels: Use a clean, dry microfiber towel to go over the floor, absorbing any remaining moisture. Start in the same corner where you began mopping and work your way out.
- Buff the Surface: Once the floor is dry, use a dry microfiber cloth to buff the surface. This step helps to restore the floor’s natural luster and remove any streaks.
Tips:
- Buffing with a Floor Buffer: For large areas or for added shine, consider using a floor buffer with a microfiber pad. This can give your floor a professional-grade finish.
- Spot-Check for Streaks: As you dry and buff, keep an eye out for streaks or smudges and address them immediately.
Why It’s Important:
Drying and buffing not only protect the floor from water damage but also ensure that the floor looks its best, with a smooth, streak-free finish.

Read More: How to Dry Carpet After Cleaning: A Comprehensive Guide – Ultimate Floor Cleaner
Step 7: Handle Stains and Spills Immediately
Accidents happen, and when they do, it’s important to address stains and spills on engineered flooring as quickly as possible to prevent permanent damage.
How to Do It:
- Blot, Don’t Wipe: For liquid spills, use a soft, absorbent cloth to blot up the spill immediately. Avoid wiping, as this can spread the liquid and push it into the seams.
- Clean with Mild Solution: After blotting, clean the area with a diluted pH-neutral cleaner. Rinse with a damp cloth and dry thoroughly.
- For Stubborn Stains: If a stain persists, use a soft bristle brush to gently scrub the area with a bit of the cleaning solution. Avoid using excessive force to prevent damaging the finish.
Tips:
- Preventative Measures: Place mats or rugs in high-traffic areas or near sinks to catch spills before they reach the floor.
- Avoid Strong Cleaners: Never use harsh chemicals or abrasive pads on engineered flooring, as they can scratch or dull the surface.
Why It’s Important:
Immediate action on spills and stains prevents damage to the wood veneer and keeps your floor looking flawless.
Step 8: Regular Maintenance and Preventative Care
In addition to regular cleaning, ongoing maintenance and preventative measures are essential to keep your engineered flooring in top condition.
How to Do It:
- Use Protective Pads: Put felt pads under the legs of your furniture and don’t drag heavy things across the floor.
- Place Doormats: Use doormats at entryways to reduce the amount of dirt and grit tracked onto the floor.
- Rotate Rugs: Rotate area rugs and furniture periodically to prevent uneven wear and fading.
- Control Humidity: To stop the wood from expanding or contracting, keep indoor humidity levels between 30% and 50%.
Tips:
- Seasonal Maintenance: Consider a deeper cleaning at the change of seasons, especially after winter, to remove any salt or grit that might have accumulated.
- Protect from UV Light: Use window treatments or UV-protective coatings on windows to prevent the flooring from fading due to sunlight exposure.
Why It’s Important:
Regular maintenance and preventative care help to extend the life of your engineered flooring, ensuring it remains beautiful and functional for years to come.
Must Read : How To Clean Bamboo Floors: A Comprehensive Guide
Troubleshooting and Tips
Even with the best care, issues can arise with engineered flooring. Here’s how to troubleshoot common problems and maintain the beauty of your floors.
1. Dealing with Scratches
- Problem: Light scratches on the floor surface.
- Solution: Use a wood floor repair kit that matches your floor’s color to fill in scratches. For deeper scratches, you might need to use a wood filler or replace the affected plank.
2. Preventing Water Damage
- Problem: Water damage from spills or excessive moisture.
- Solution: Always dry spills immediately and avoid using too much water during cleaning. If you notice buckling or warping, it may be necessary to replace the affected areas.
3. Addressing Dullness
- Problem: The floor looks dull even after cleaning.
- Solution: Buff the floor with a microfiber cloth or use a floor buffer with a polishing pad. If the dullness persists, it might be time to recoat the floor with a protective finish.
4. Removing Stubborn Stains
- Problem: Stains that don’t come off with regular cleaning.
- Solution: Use a stain remover specifically designed for engineered flooring, or try a baking soda paste for organic stains. Gently scrub with a soft brush, rinse, and dry.
Conclusion
Keeping your engineered flooring clean and well-maintained doesn’t have to be a daunting task. By following the steps outlined in this guide, you can protect your investment and ensure that your floors remain a beautiful and integral part of your home’s design.
Ready to put your new skills to the test? Start your cleaning routine today, and enjoy the satisfaction of a sparkling, well-maintained floor. And don’t forget to explore more of our home care tips to keep your entire house looking its best!
FAQs About Engineered Flooring
1. Can I use a steam mop on engineered flooring?
No, steam mops are not recommended for engineered flooring. The high heat and moisture can cause the layers of the floor to warp or delaminate.
2. How often should I clean my engineered floors?
Sweep or vacuum your engineered floors daily or at least several times a week to remove dirt and dust. Mop the floors weekly, or as needed, depending on traffic and usage.
3. What’s the best way to remove pet stains from engineered flooring?
Blot up the stain immediately, clean the area with a pH-neutral cleaner, and dry it thoroughly. For persistent odors, you need to use an enzymatic cleaner designed for hardwood floors.
4. Can I refinish my engineered flooring?
It depends on the thickness of the wood veneer. If it’s thick enough, engineered flooring can be sanded and refinished once or twice. Consult a flooring professional to assess your specific floor.
5. How do I protect my engineered floors from furniture scratches?
To keep furniture from getting scratched when you move it, put felt pads under the legs of the furniture and don’t drag heavy things across the floor. Regularly check the pads for wear and replace them as needed.

